
In the first part of this guide, I shared with you all the initial information you need to know to plan your visit to Disneyland Paris. In this part, I want to share with you 16 additional tips that’ll help with the preparations beforehand and virtually upgrade your visit to the park:
Maintenance:
The rides in the park are going through regular maintenance. Hence, some of them might be closed down on the day of your visit. To avoid any disappointment, I recommend checking on the park’s website to see whether the ride you’re interested in will be open on the date of your arrival.
Planning your route:
Speaking of the website, I strongly recommend that you check out the list of rides on the park’s map.
Knowing which rides you can find at the park and where they’re located can help plan and manage your expectations before the visit. For instance, if you’re a large group, each person can pick a few rides that are a “must-do,” and that way, no one will end the day disappointed.
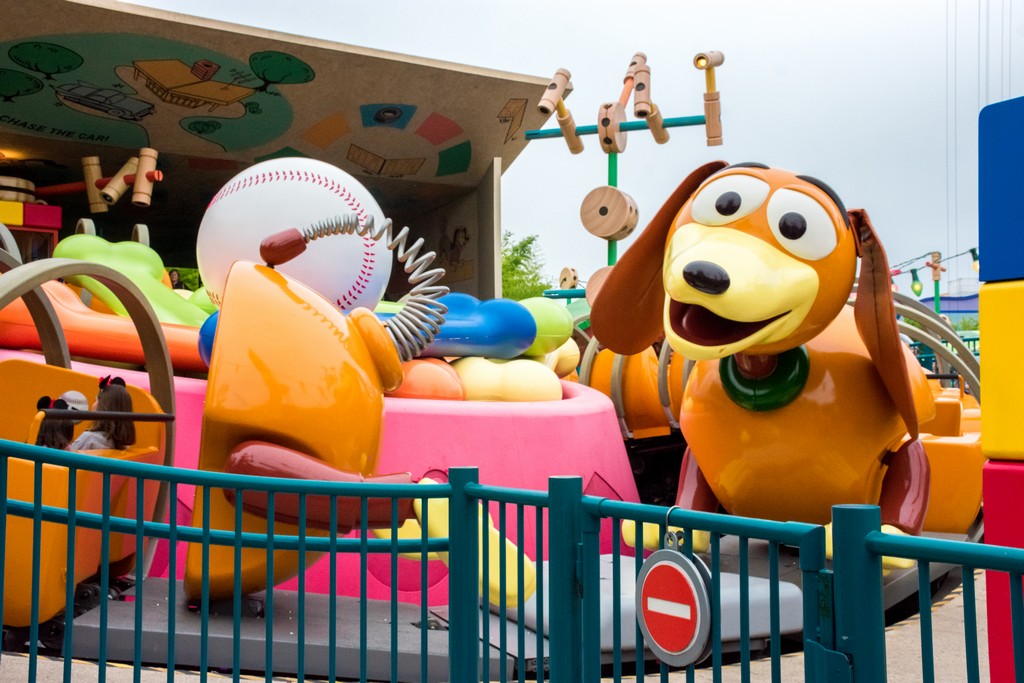
The rides on the map are divided according to the adrenaline level you’ll receive riding them: “Fun for the little ones”, “Family Adventures”, and “Big thrill” rides for those who are on the braver side 😉.

Riding SOLO:
Next to Some of the rides, you’ll also be able to find special markings: the “Fastpass” (mentioned in the first part of this guide) and the “Single Rider”.
The “Single Rider” is an option that’s available for those who visit the park by themselves, or alternatively, for couples that aren’t joined at the hip. Essentially, it’s a separate line that can be found in selected rides, with the people standing in it serving as “hole-fillers” for carts that aren’t fully occupied.
Not many people seem to take advantage of this option; hence, the queue moves significantly faster than the regular one.
Dress for comfort (not for the gods):
Another point regarding planning ahead is dressing comfortably and appropriately.
Check out the weather forecast and use the layered clothing method as the weather may be fickle.
If the weather is cold, bring a water-resistant poncho because an umbrella might be a less convenient option: take out-open-close-put back inside-take out again, you get where I’m going with this one…
Make sure to wear comfortable shoes to walk in because this is a relatively large park and you’re going to do a lot of walking. Also, it’s not the time to try new shoes on. I really don’t think there’s anything that sucks more than a sprained and bleeding ankle on a day like this. Leave the fancy shoe obsession to Cinderella!
As to the bag that’ll accompany you throughout the day, you should opt for a standard backpack or a small bag that you can drape over your shoulder; bigger than that and you risk making your experience quite a drag -literally! (there’s luggage storage at the entrance to each park, but the service isn’t free of charge).


Foooooood:
The food options at the park are divided into roughly three price ranges:
* Stalls and cheap canteens (15€ per person on average)
* All you can eat buffets at mid-price range (35€ per person on average)
*Table service restaurants to which you should make a reservation (ranging between 45€ to 80€ per person on average)
You can find a list of the restaurants along with their location, price range, and dining style on the back of the park’s map.
Personally, to save some cash, I prefer to pre-pack some food in my bag beforehand and just eat it when hunger strikes. Also, eating a sandwich while you’re standing in line for a ride is a totally legit way to save time as far as I’m concerned.
Self-portrait:
Selfie sticks aren’t allowed inside the park. On the other hand, a tripod is permitted as long as it can be folded into your bag while it’s not in use.

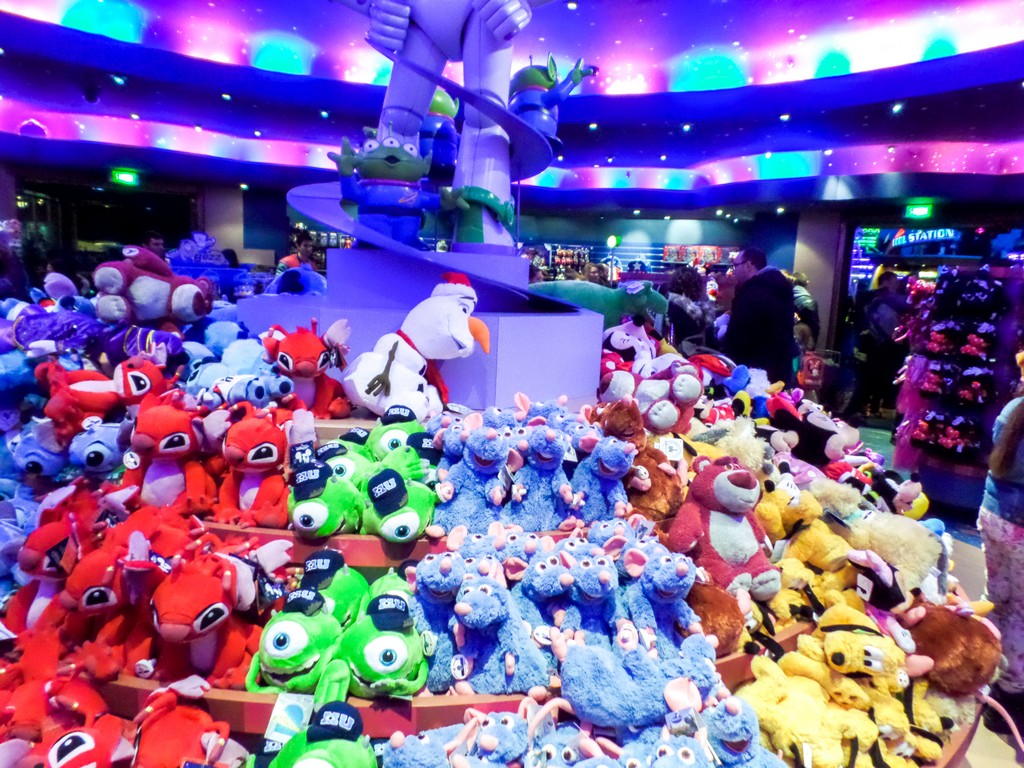
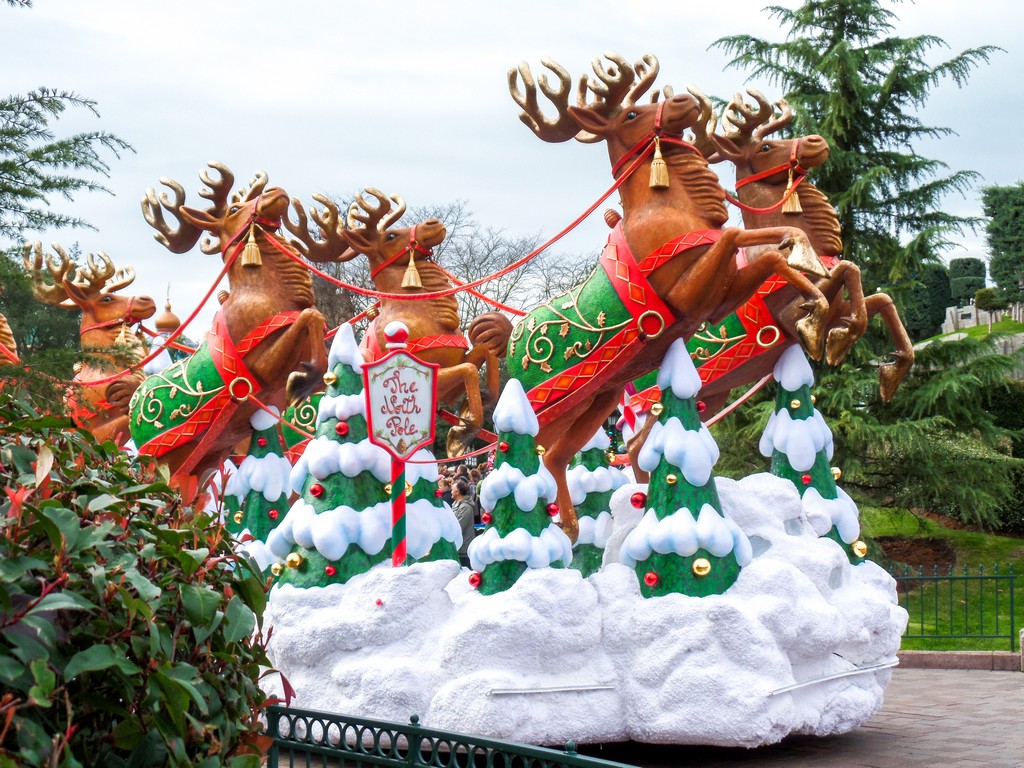
Shopping galore:
Every square meter of the park has a shop that sells something, whether it’s sweets, Christmas decorations, or stuffed animals. Since the variety is somewhat overwhelming and quite tempting, my suggestion would be: decide on a budget that you’re willing to spend on shopping in advance and try to stick to it. That way, you’ll avoid (or at least try to) spending more than you planned on.
A small tip for those of you who are parents:
If you’re visiting with the little ones and they want to dress up as their favorite characters, buy the costumes online and arrive at the park dressed up. This option is a lot cheaper than purchasing the costumes on site.
Pickin’ it up:
Suppose you don’t have enough room in your bag or simply don’t feel like dragging with you the giant plushie you just bought for your niece (or yourself, we don’t judge around here!) throughout the whole day.
In that case, you can leave your purchase at the store (as long as it’s done before 3 pm) and pick it up later at the exit from the park. The pick-up station is located at the Disney Village inside the Disney store, near Annette’s diner (clearly marked with a shopping bag logo and open from around 6 pm).
Alternatively, if you’re staying at one of the Disney hotels, you can pick up your purchase from the hotel’s boutique from around 8 pm. Please remember to keep the receipt as you’ll need to present it to pick up your purchase.
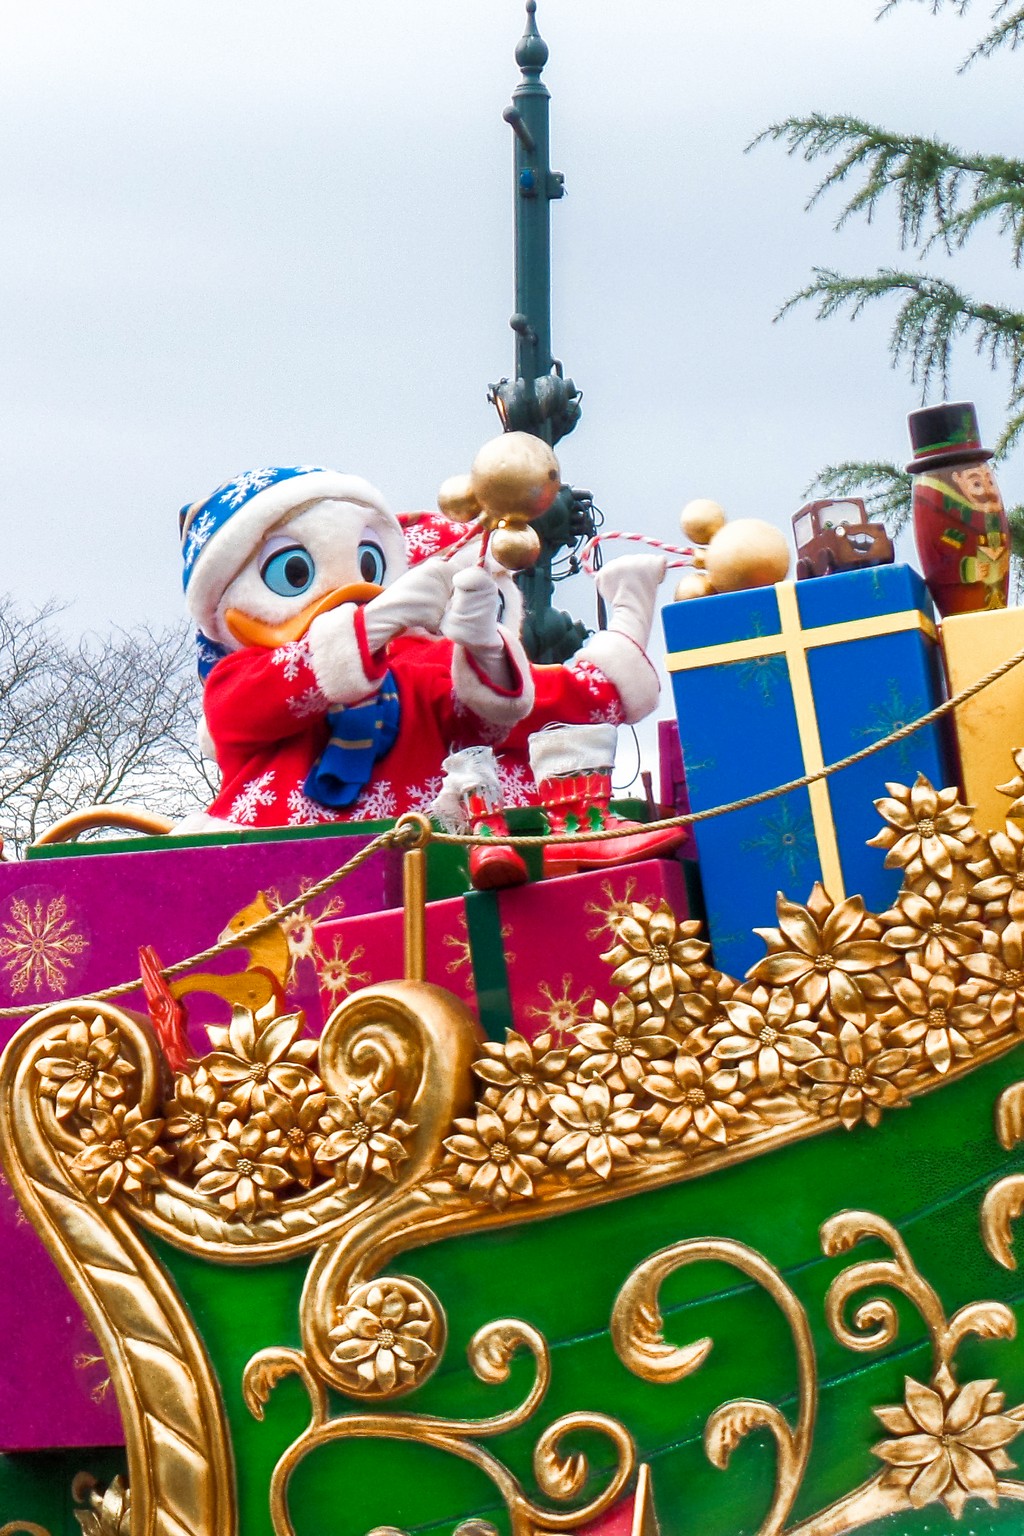
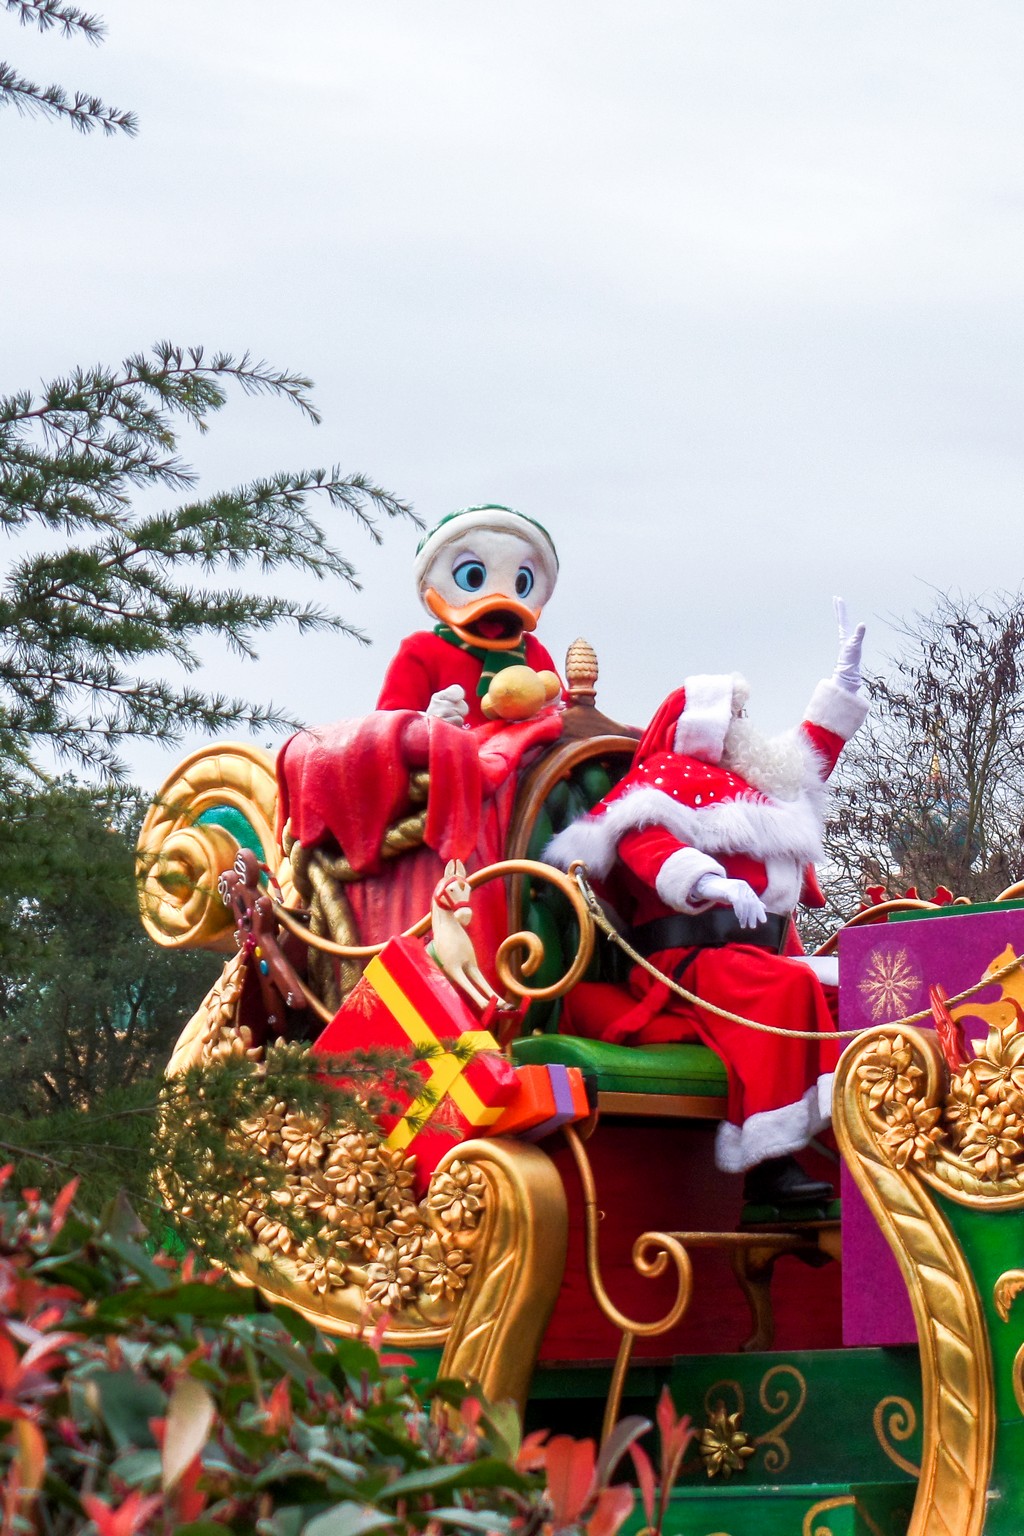
Knowledge is power:
Use the information provided to you and grab a brochure to keep up with what’s going on. For example, the program offers a schedule of the parades and other daily events, as well as a map that showcases the locations in which they take place. I recommend arriving about half an hour early to catch a good spot along the parade route and perhaps even earlier for the “Disney Illuminations” show at the end of the day.
A small tip:
You can try and catch a view of the “Disney Illuminations” show from the side, next to the flower beds at the exit from the Aladdin Passage (nr. 15 on the map), and that way maybe avoid (fingers crossed) the crowds and get an unobstructed view on the show.
Knowledge is power 2.0 (apps):
Additional information can be found on the park’s app “Disneyland Paris”.
Aside from general information such as park opening hours, information about closed rides, and the hours of various events, it also contains a map with a live feed of the waiting time for all of the rides. The map can be filtered according to your interests (attractions, restaurants, etc.)
An alternative app is the “MagiPark”, which also contains a live feed of the waiting time to the rides, although here, it’s conveniently presented in the form of a list.
Additionally, the app comes with another useful feature: there’s an option to set up notifications to notify you as soon as the waiting time for your favorite ride drops to one that you set as reasonable. It’s also possible to receive notifications regarding interruptions or re-starts of rides.
Personally, I think the app’s most remarkable feature is its map, which uses location services that will help you navigate your way to the ride with the shortest waiting time with little to no effort.
Excuse your french:
Since the park’s location is in France, it’s managed bilingually. In other words, the background stories for the rides alternate between French and English.
I didn’t mind it, but it’s something to consider.
Dusk ’till dawn:
To make the most out of your visit, I highly recommend arriving as soon as the park opens and devoting a whole day to the experience.
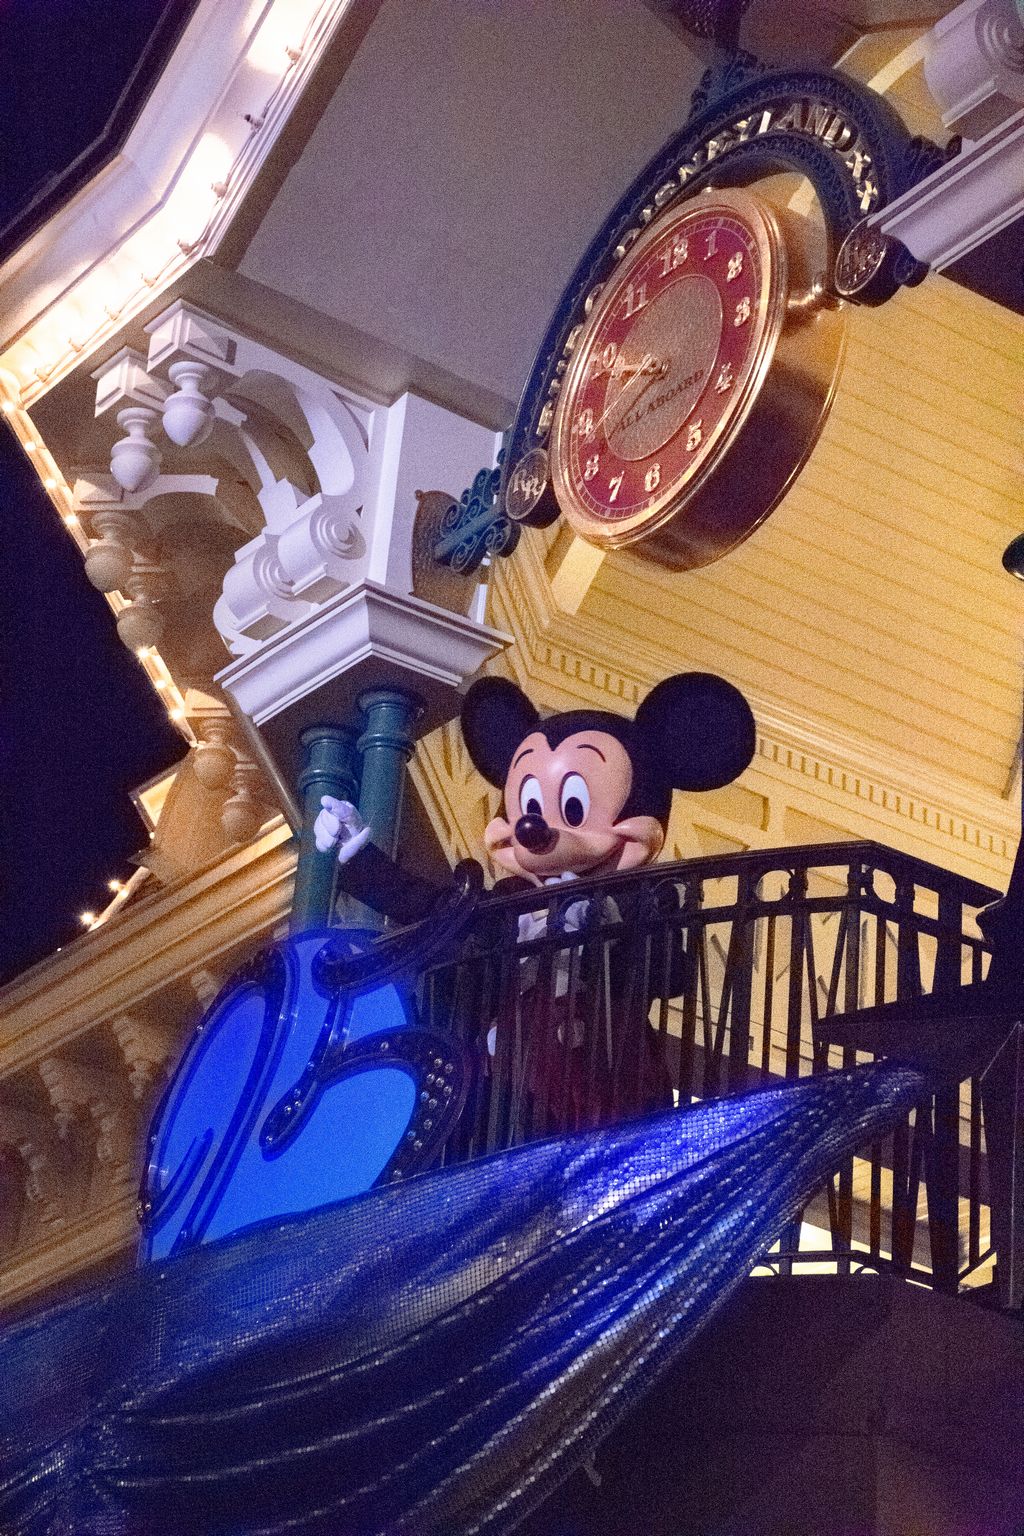
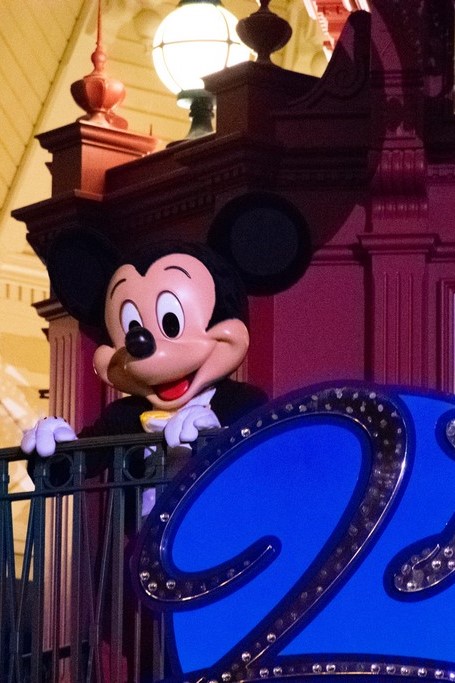
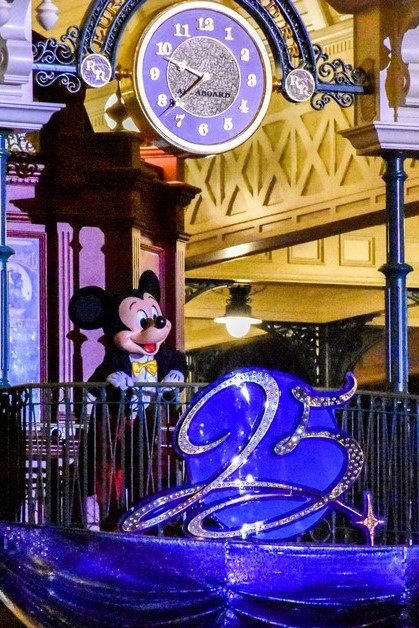
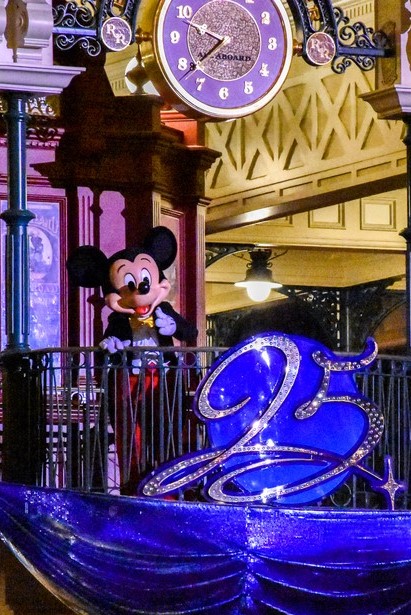
After the Disney Illuminations show, at the end of the day, don’t miss out on Mickey Mouse’s goodnight kiss at the exit from the park.

Stroll on:
Those visiting with children will be happy to hear that you can rent a stroller at the entrance. This option is great for babies and small children, who’ll be glad to use it to rest after all of the walking and running they did throughout the day.
“Baby Switch”:
An additional service offered to parents visiting the park is the “Baby Switch”.
The service allows parents to enjoy rides that aren’t suitable for the little ones by taking turns riding the attraction whilst queuing only once.
The system works so that one of the parents stands in line while the other waits nearby with the child. When the first parent finishes the ride, they switch instead of waiting in line again. Ask the cast member at the entrance to the ride for guidance.
“PhotoPass” + :
If you were wondering, one of the most popular activities amongst the visitors at the park is taking photos with Disney characters that can be found in various Meet & Greet locations.
It’s not my cup of tea, but if the idea sounds like fun to you, you might want to consider and invest in a PhotoPass+.
The PhotoPass+ is a card (plus two mini ones for sharing) that links you to a digital portfolio, to which all of your photos from the Meet & Greets and rides are uploaded.
This option has its advantages:
* The pictures are of good quality since they’re taken by professional photographers.
* All of your group will be present in the photos without anybody missing because “somebody needs to take them”.
However, it’s worth mentioning that the perk is not cheap (around 70€ last time I checked), and it doesn’t really pay off if you go only to a few Meet & Greets.
In addition, there have been reports of “lost” photos that’ve broken children’s hearts all over the world.
Hence, if you’re interested in this option, I suggest taking a mid-step: In each photo station, you can scan your park entrance ticket and receive a paper ticket with a barcode that’ll allow you to decide later if you’re interested in keeping the picture ( also don’t forget to try and take advantage of the photographer and ask him to take a photo with your own camera too). Collect the paper tickets at the various stations and go to a photo development station in one of the stores at the end of the day. You can review the photos and decide if you want to keep them then and there. If you do, you may choose a few that you like or, if you find the option suitable, purchase the PhotoPass+ on the spot and connect it to the barcodes you’ve collected.
It’s important to note that the PhotoPass+ is useable for ten days from when the first photo is taken.
At the end of this time period, the photo portfolio will be available for 30 days. Download the images to your computer before the end of this period to avoid losing them.
Facing your fears:
Are you scared of doing rides that’re high on the adrenaline meter but still would like to lose your rollercoaster “virginity”? Consider trying out the “Conquer the highest mountain” method: At the beginning of your day,
go to one of the rides you find to be the most intimidating and ride it.
That’s what I did, and knowing that I’ve already been through the scariest part of the day released me from the tension of waiting in line for the other rides and allowed me to enjoy a broader range of them.
Remember, at the end of the day; you’re there to have as much fun as you can.
I hope you found this post useful.
For more information on traveling to Disneyland Paris, please visit the first part of this guide.
If you have any remarks, tips, and/or questions, please feel free to leave a comment down below 😊

what do you think?